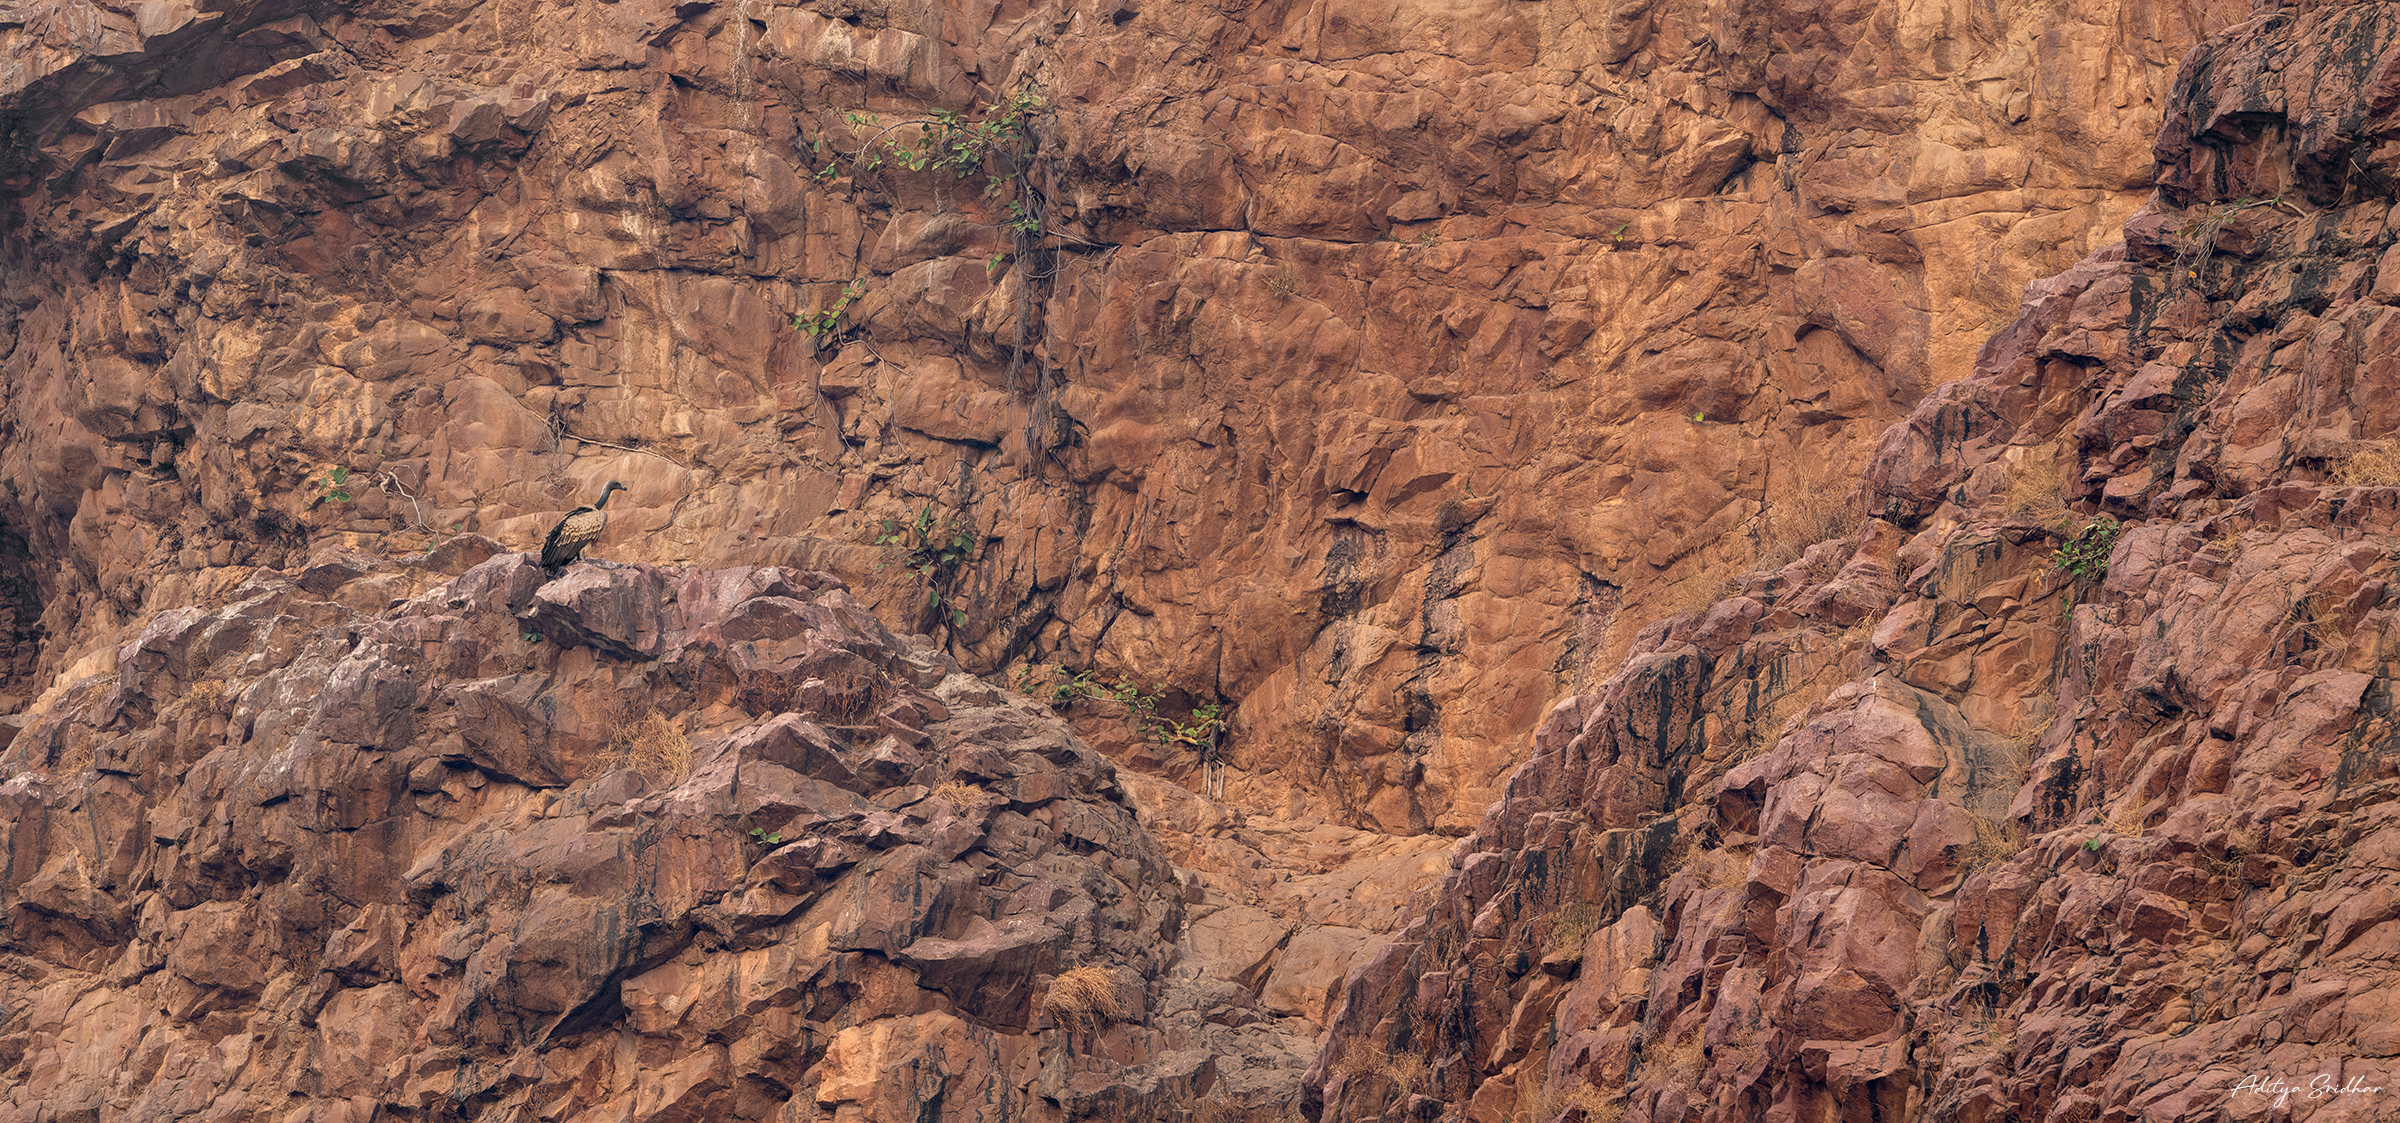
I’ve always been fascinated by vultures, and when I heard that there was a well-known Indian Vulture nesting site on the outskirts of the city of Bharatpur, I jumped at the opportunity. I did a bit of research beforehand, and from the very limited information available on this particular location, I figured that the only possible way to shoot these beautiful, very endangered birds was with a long lens.
This situation presented a very unique challenge – both technical and artistic – and I really wanted to elaborate on my thought-process of shooting and processing this image. Let’s get started, then.
Background.
The cliffs of Bayana are a long stretch of mountainous outcrops laden with incredible textures, shapes, and deep, earthy colours. However, the only way to photograph the critically-endangered vultures that inhabit this landscape is to shoot upwards from the foothills at a very steep angle.
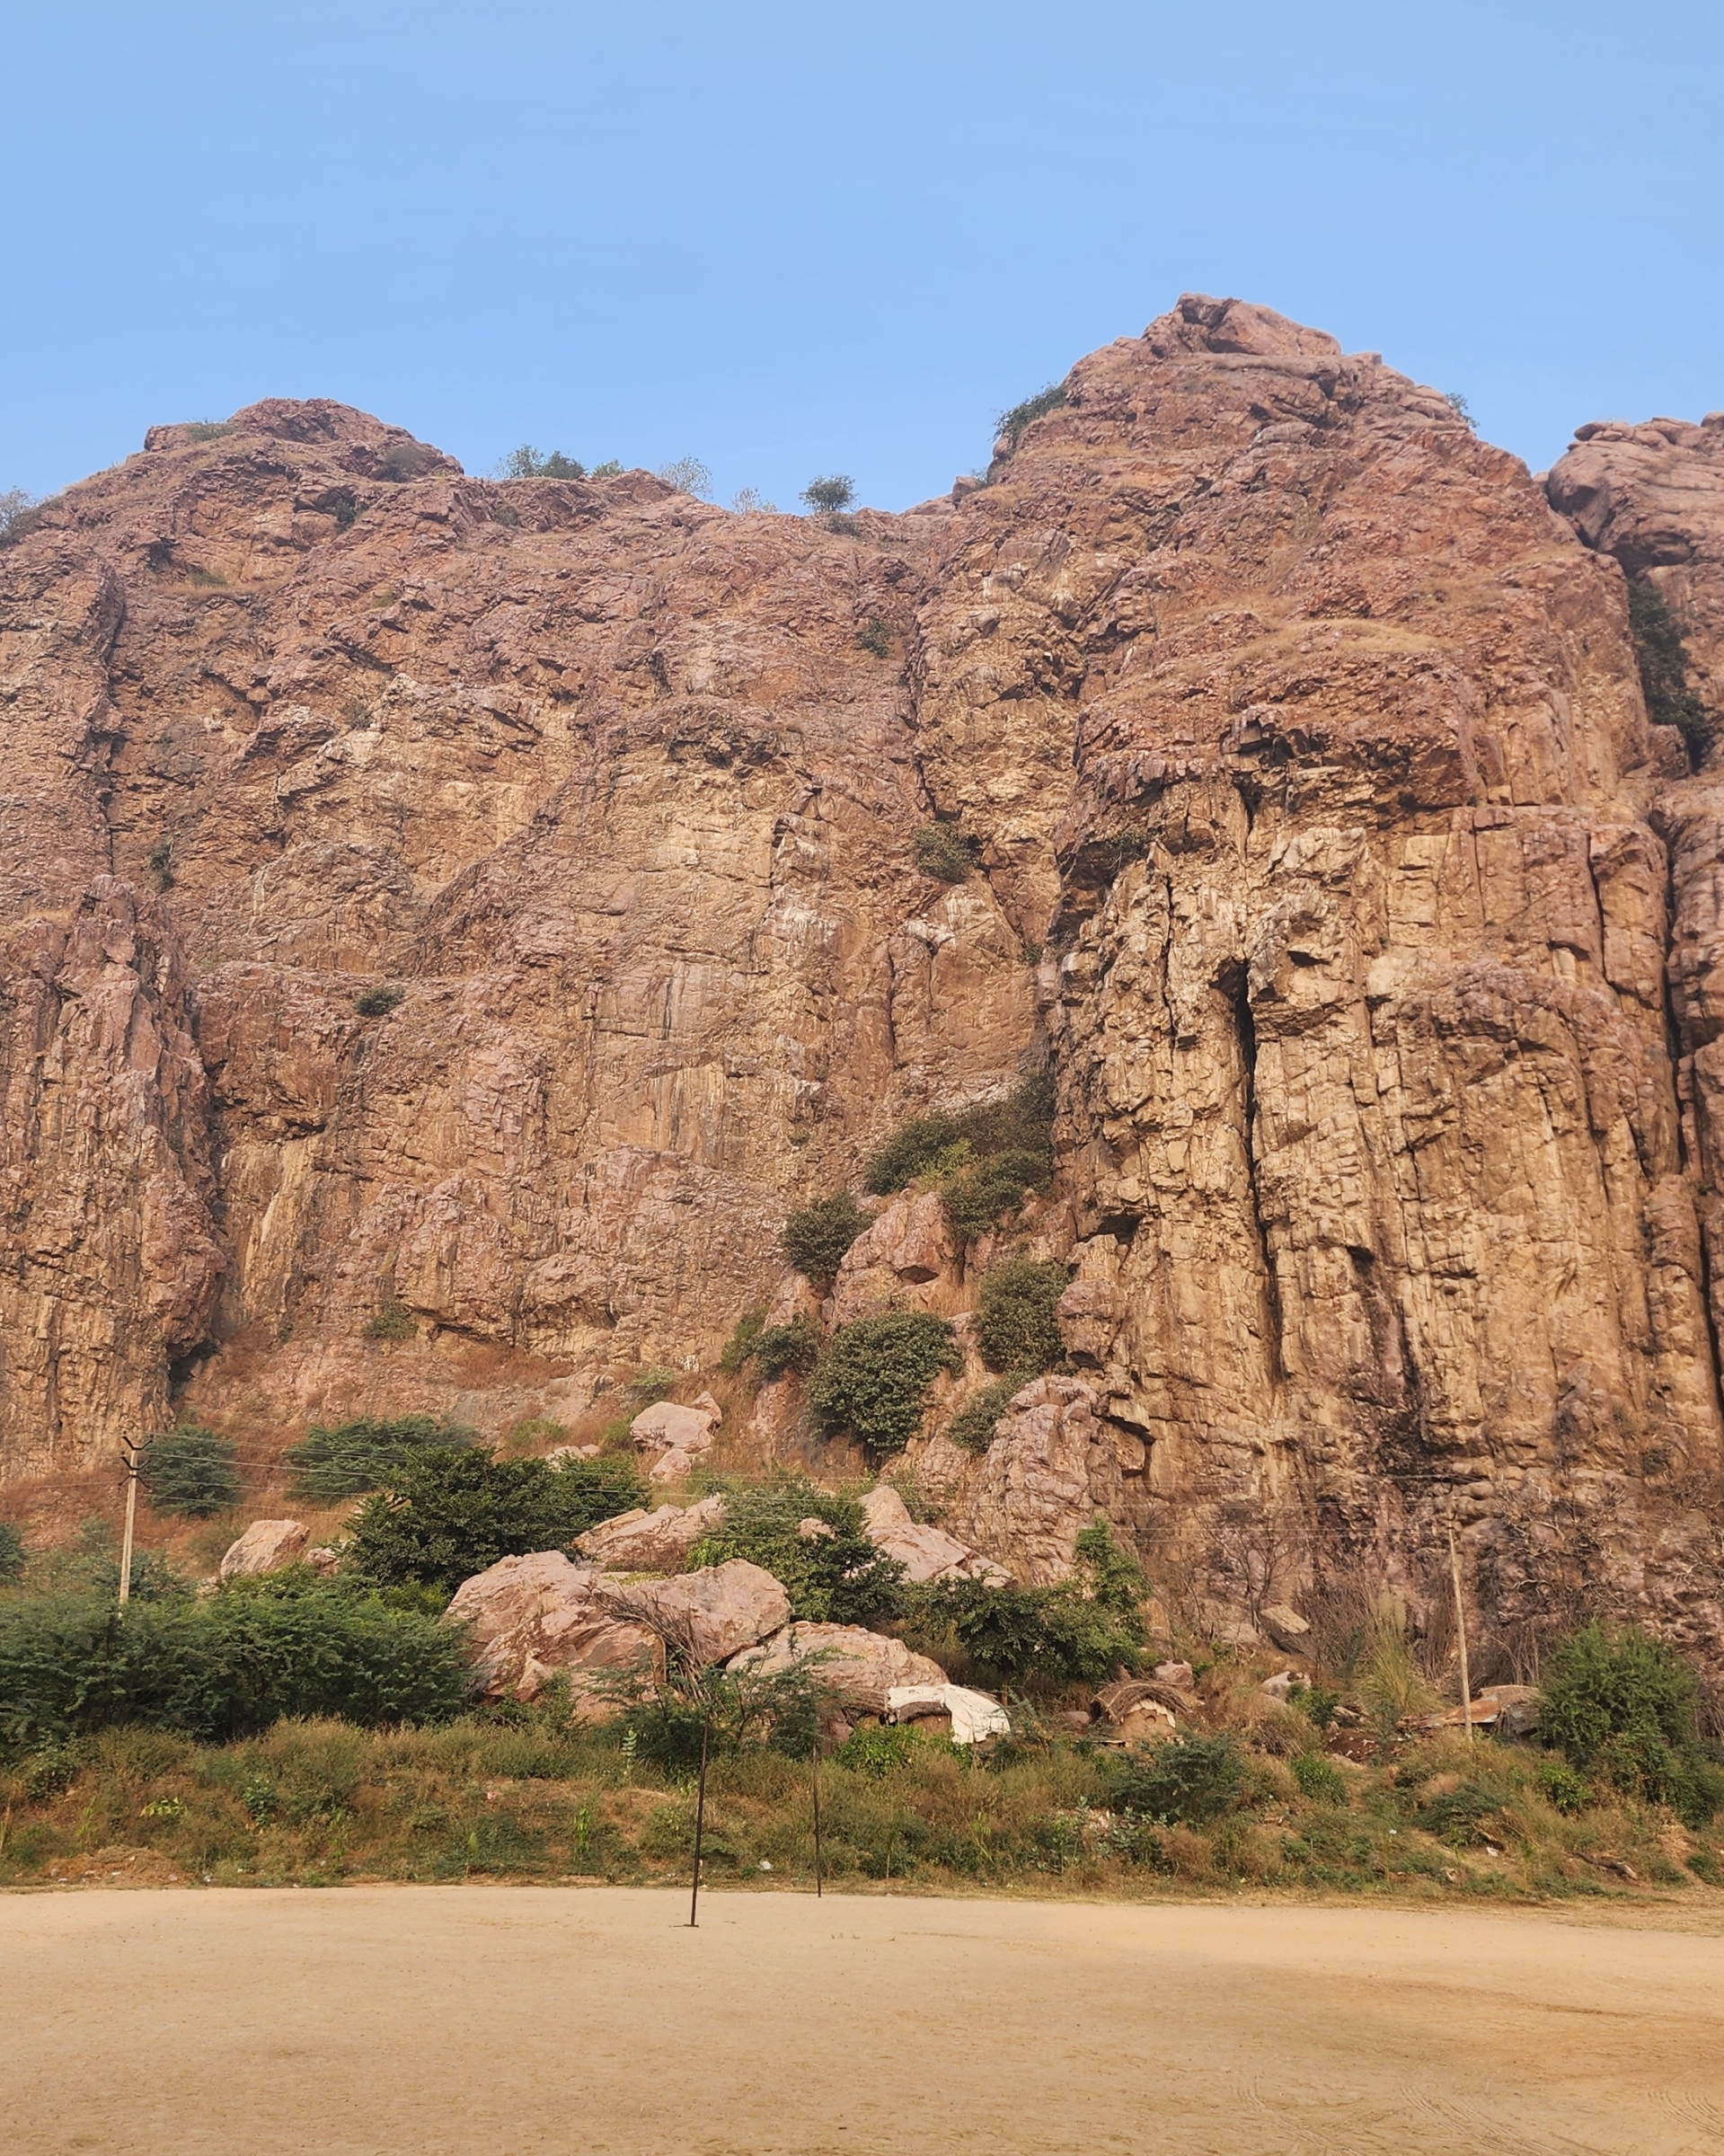
The funny thing about perspective is that there really is no definitive ‘right’ or ‘wrong’ shooting position; the result is purely an outcome of your artistic vision and any practical limitations that you may face. If I were to say that my perspective would be ‘worse‘ by getting closer to the cliffs, thereby increasing the verticality of my shooting angle (keep in mind, there was absolutely no way to increase my elevation), it might seem a reasonable observation on paper, but I find it more helpful to dissect why I think a perspective or composition does or doesn’t work instead of labelling them as being good or bad, if that makes sense.
Let’s discuss what would’ve logically happened if I were to get close.
- I would’ve been physically closer to the birds, allowing them to be slightly larger in the frame, albeit at a steep angle.
- The awkward shooting angle would’ve made for not just less aesthetically-pleasing compositions, but would’ve also resulted in a slightly shallower depth-of-field as a result of not being parallel to the landscape. This was a critical factor in my decision-making, considering I was working at focal lengths exceeding 300mm.
- A less obvious difference would be that the impact of heat distortion would be slightly reduced which, in turn would mean better sharpness and improved auto-focus.
- The light angle would’ve been slightly different, changing the appearance and impact of shadows on the cliff face.
In order to alleviate these concerns, I made the decision to shoot small-in-frame, seeking to emphasise the nature and textures of the surrounding landscape, instead. The weather conditions on the day were not in my favour – clear skies with a bit of haze – so my window of opportunity was very limited and I had to move quickly.
The image.
We typically associate big telephoto lenses with close-up portraits, but the compression that such lenses provide actually make them very handy assets for landscape photography. They’re a great way to exaggerate textures, shapes, and lines in a composition. The main drawback with these lenses (apart from the obvious narrow field-of-view) is that they also magnify the effects of heat distortion.
I arrived on location right at sunrise, so I had little time to spend on working out compositions. The nature of the landscape wasn’t exactly conducive to golden light photography. Direct light on the cliffs would result in deep shadows and bright highlights – a massive post-processing nightmare.
The vultures were, thankfully, quite active, shuttling between cliff faces to gather nesting material, allowing me to track them fairly easily. The nest sites themselves, however, were surrounded by whitewash and black droppings, making for very unappealing images. Begrudgingly, I shifted my focus away from these prime vulture hotspots and, instead, looked for compositions that weren’t so immediately obvious. That’s when my eyes landed on this scene.
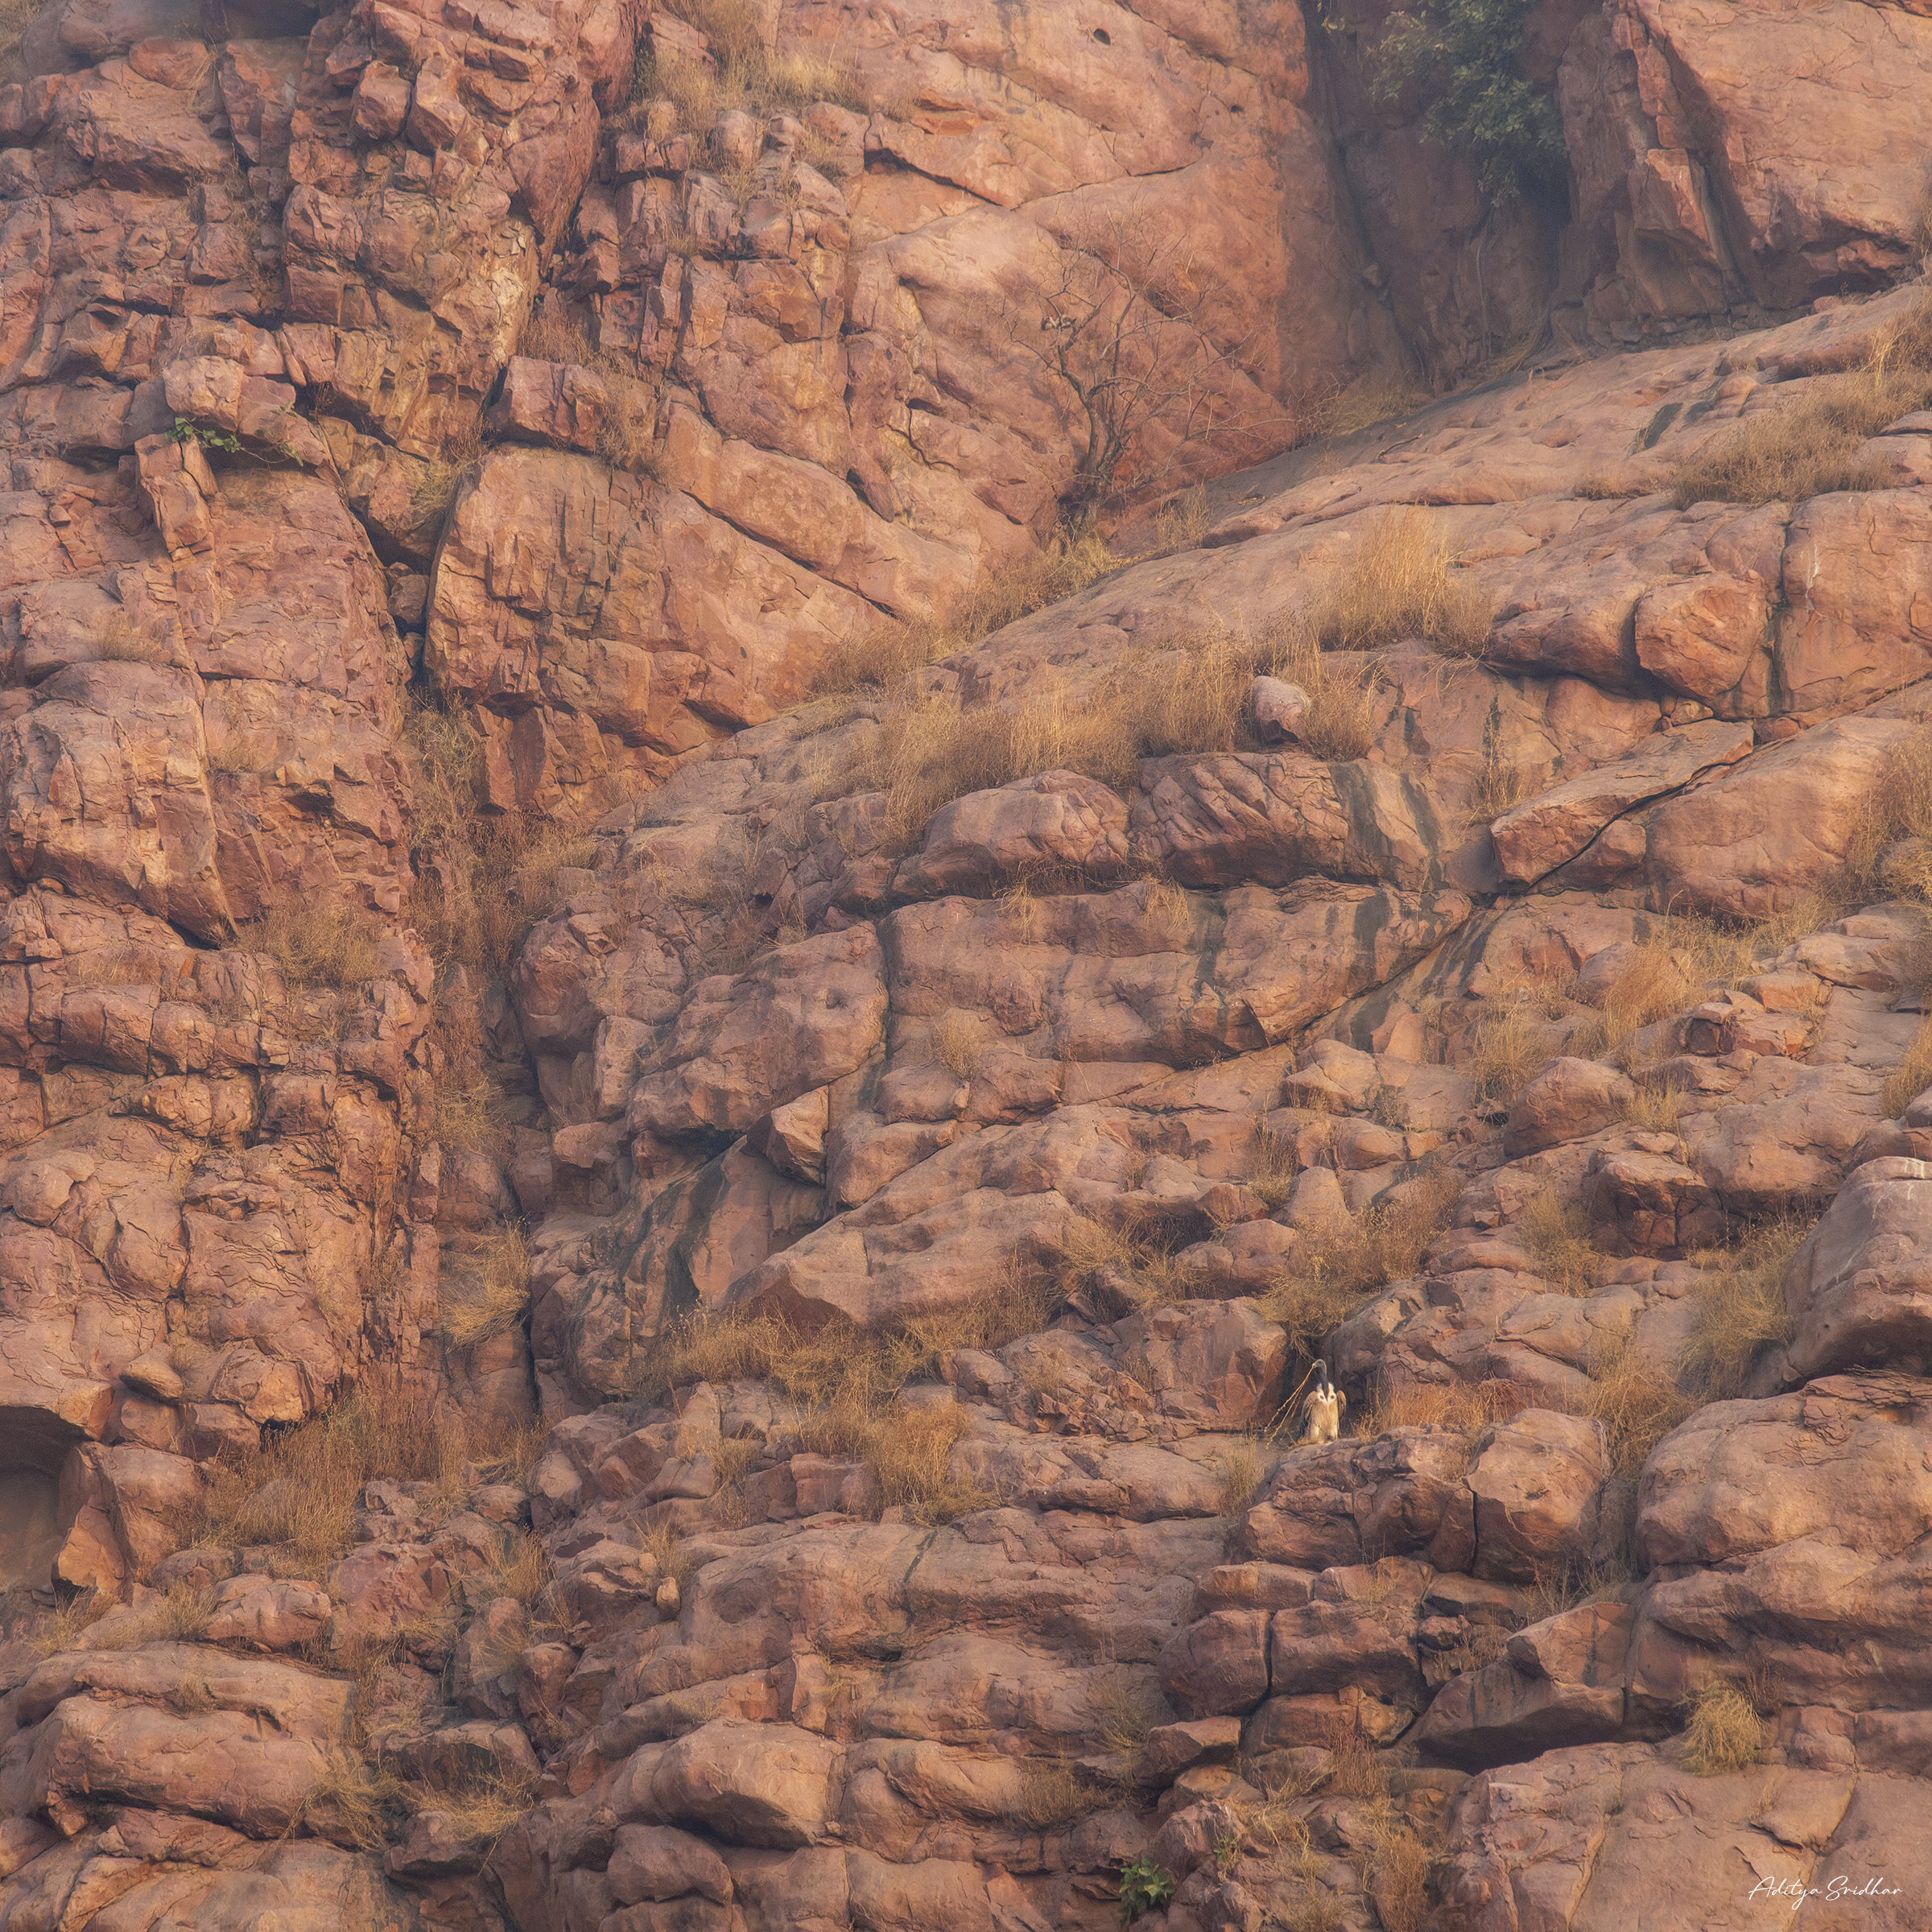
I was immediately drawn to the textures and lines on the cliff, and the natural framing they created around this lone Indian Vulture. Stopping-down the aperture to f/11, I waited for a light breeze to eliminate any residual heat distortion and fired a burst of shots. I was quite pleased with the resulting image in the field, but once I loaded it up on my laptop, there was one major flaw that I just couldn’t overlook.
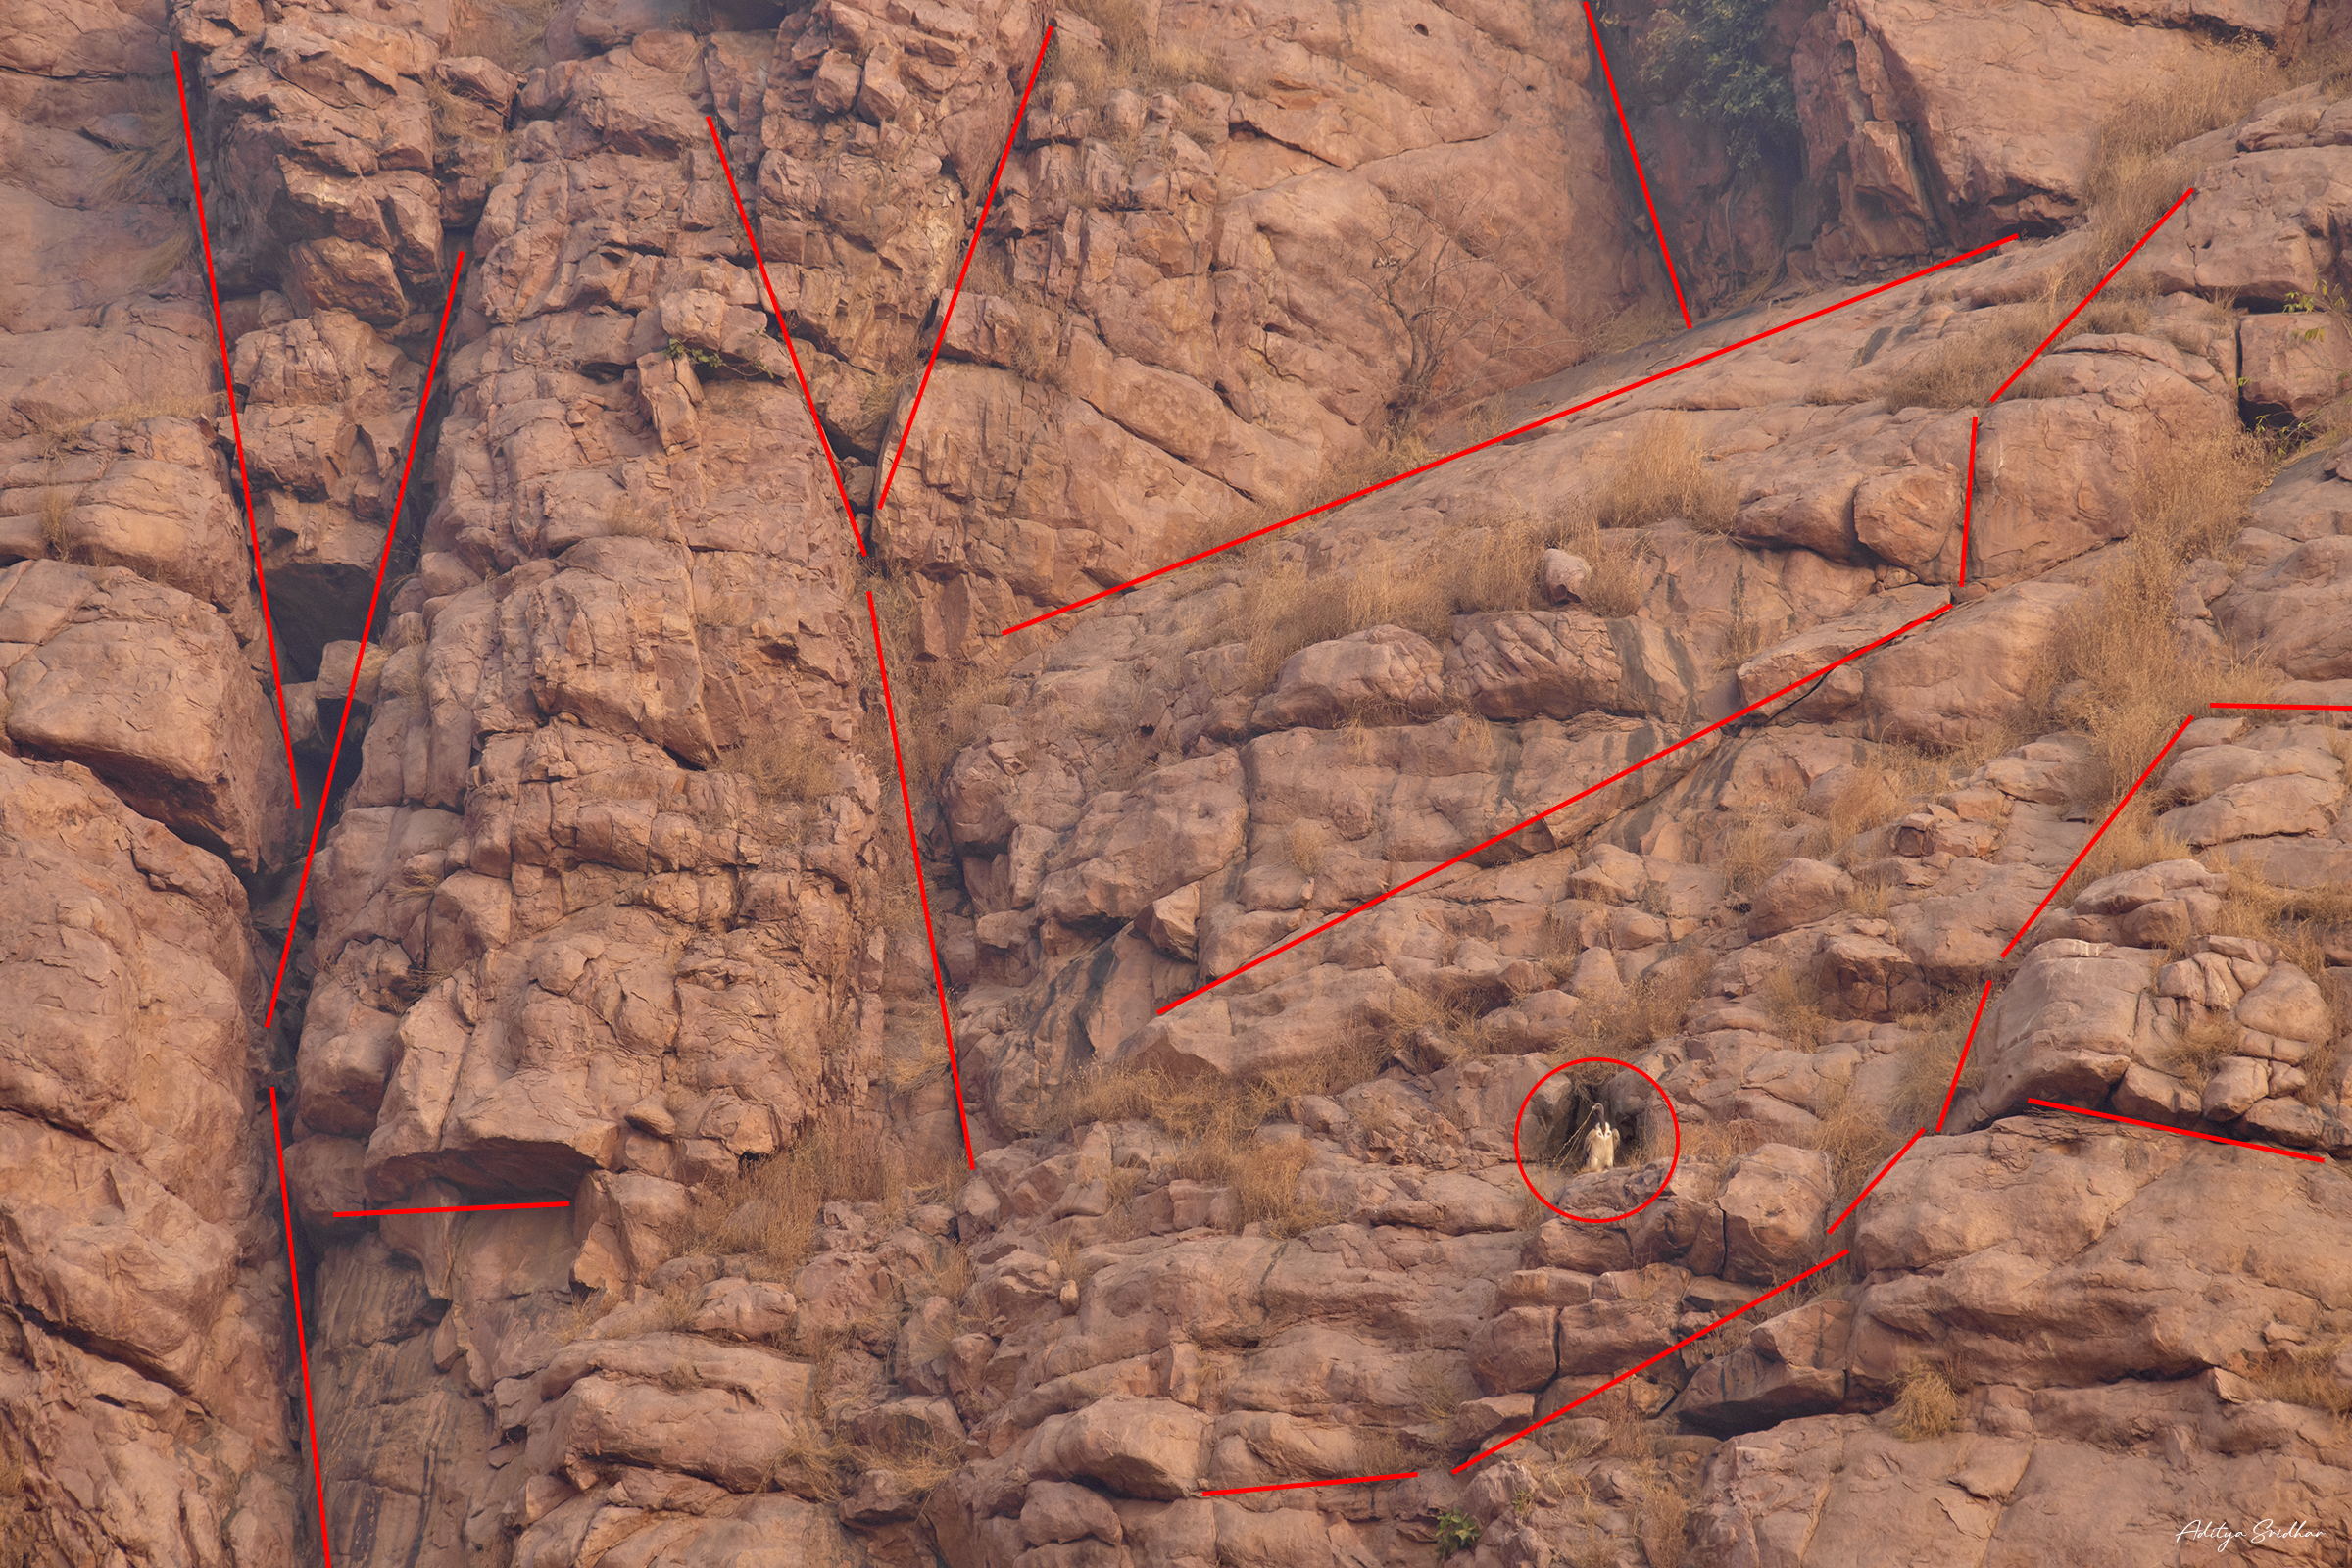
I’ve drawn a bunch of red lines to help illustrate the lines and the impact they have on the image in terms of leading the viewers’ eyes through the scene.
Let’s discuss the lines on the right side of the frame first. There are four major sets of leading lines originating from the top, top-right, and right side of the frame, and what they have in common is that they all naturally flow towards the bottom-left of the frame, guiding the eye towards the vulture set against the dark cavity in the cliff. It’s seamless, natural, and subtle enough to not draw attention away from the subject.
Now, let’s talk about the left-most set of lines. They start from the top and don’t deviate much on their journey towards the bottom of the frame. However, my main gripe with this particular set of lines is that there’s very little in the way of pay-off in terms of composition. There are no interesting elements that stand out; if anything, I think the deep shadows only serve to disrupt the overall balance of the frame.
Yeah, I’m really not a fan of that wedge. So it had to go.
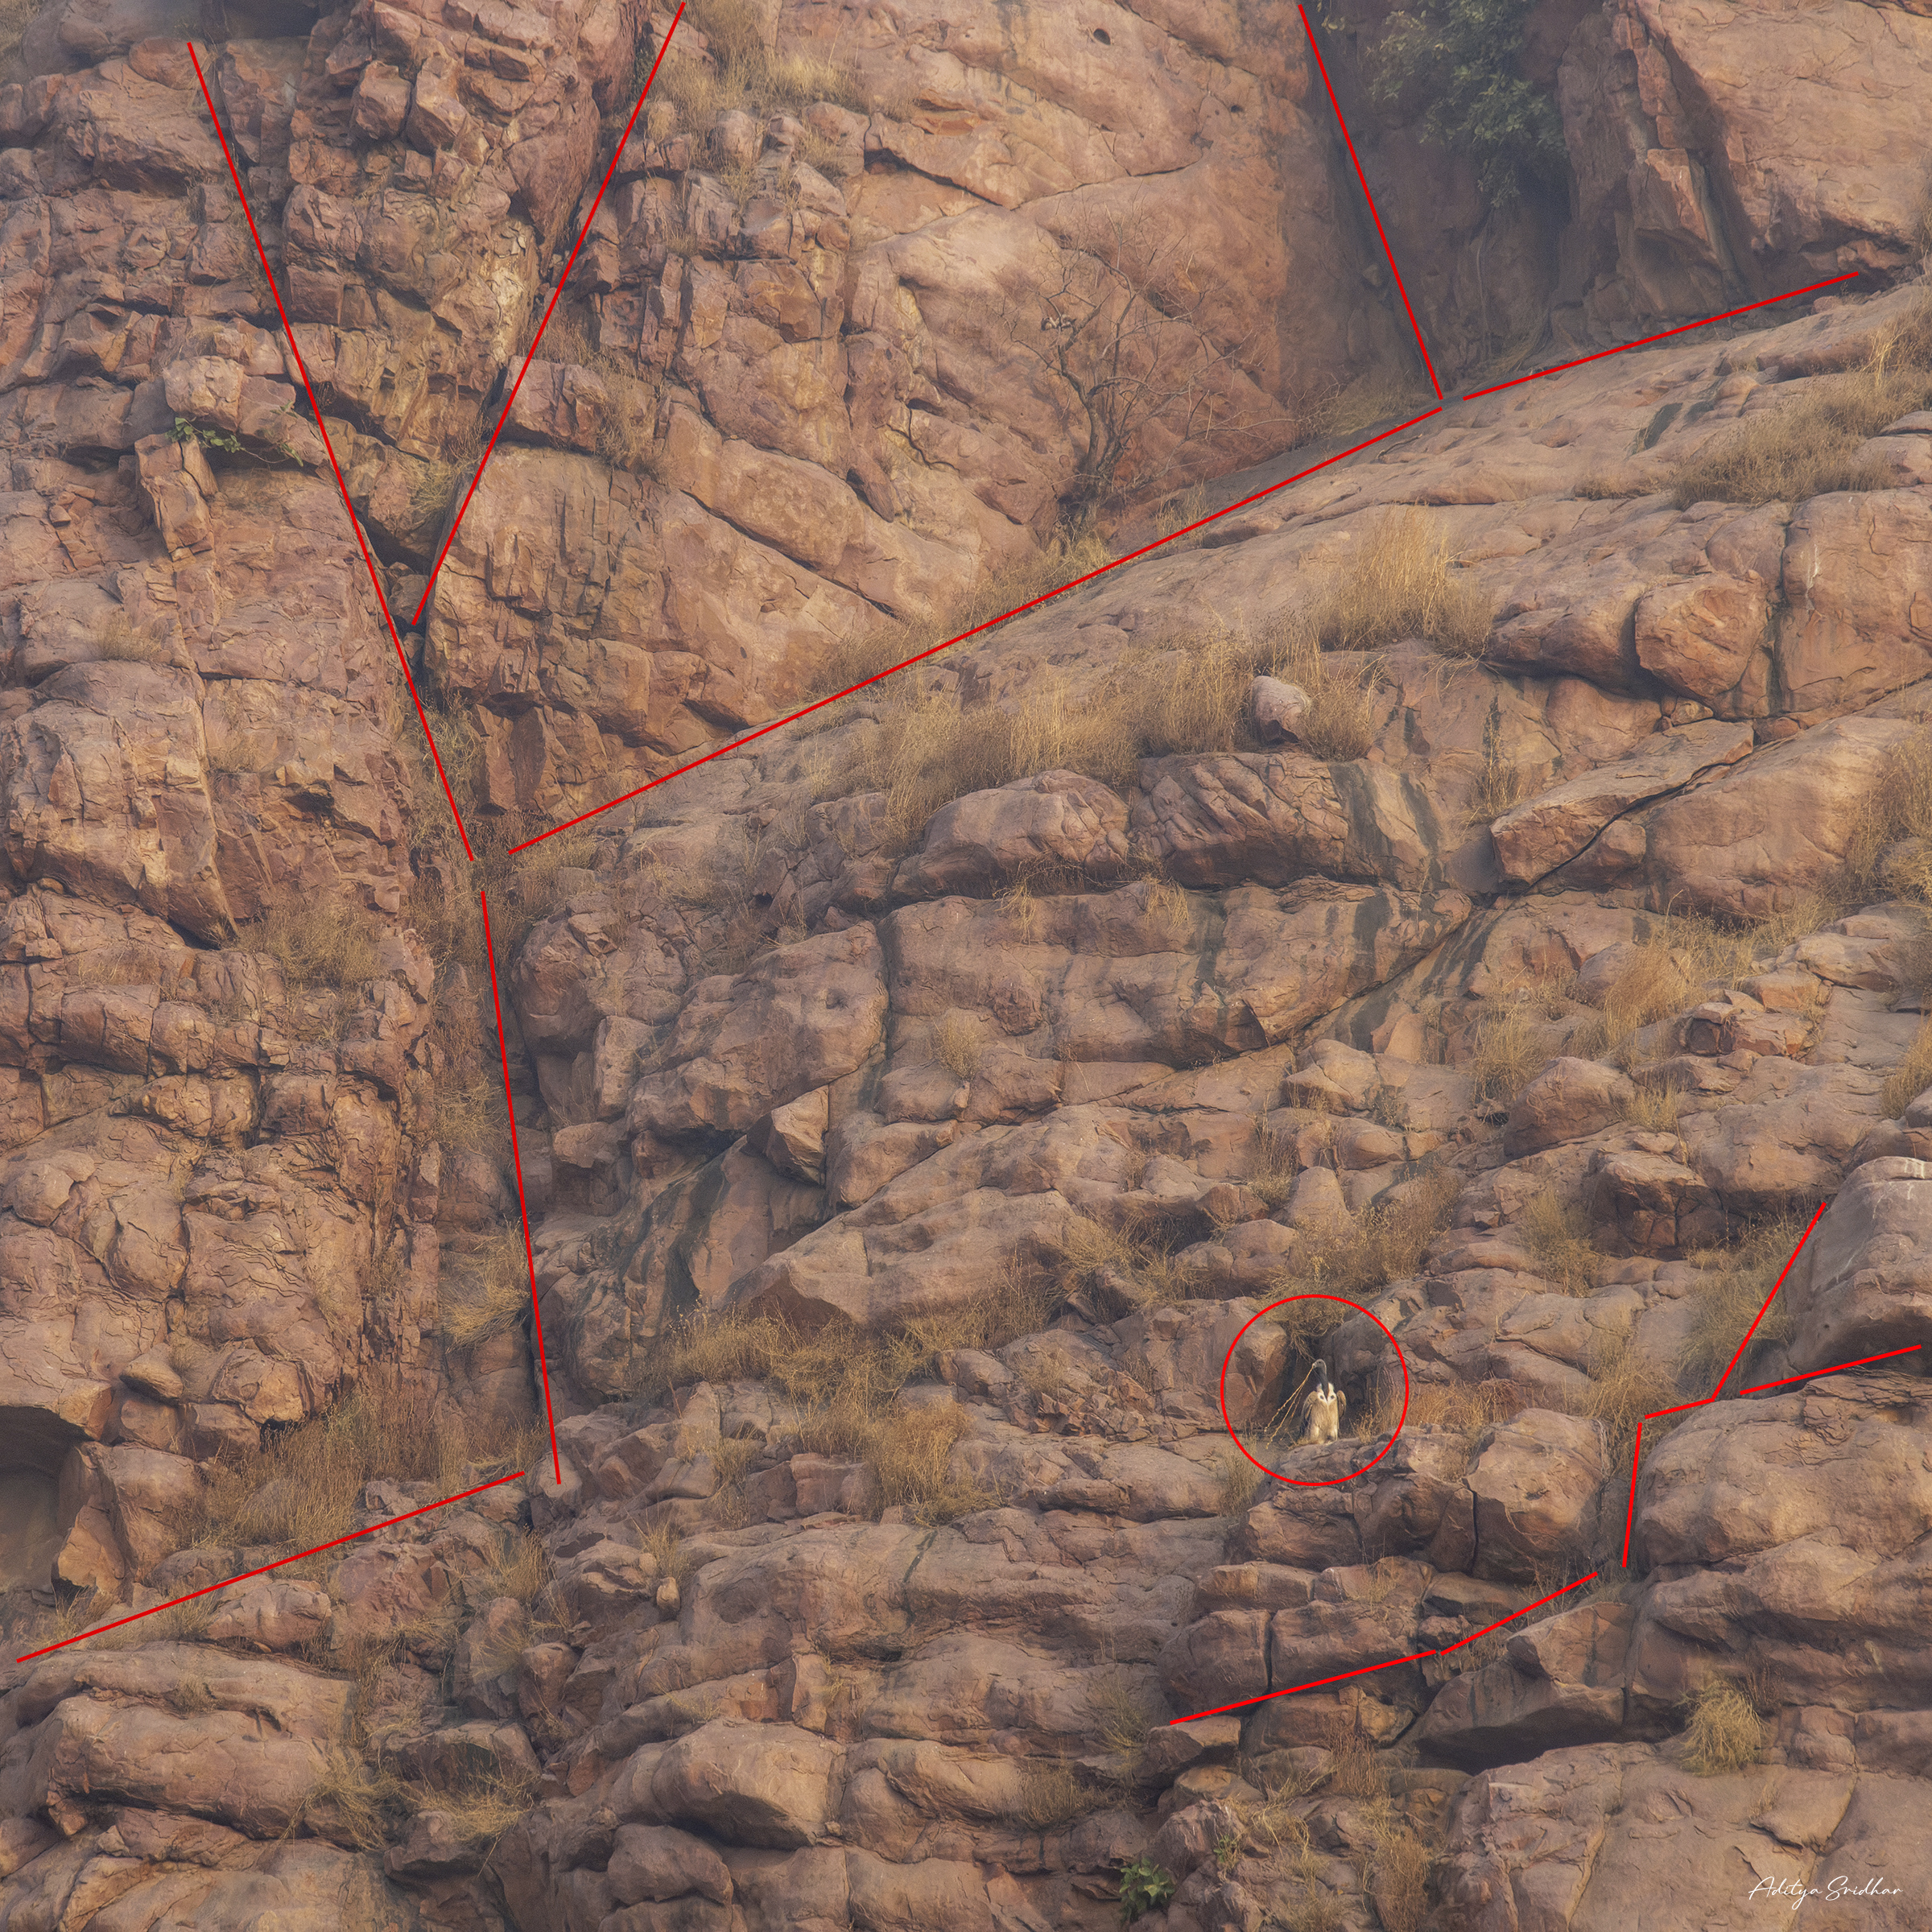
That’s much better, in my opinion.
As you can see, this square crop has addressed pretty much every negative aspect of the composition. It still retains the essence of the scene – the textures and leading lines of the landscape, the Martian colours of the cliffs and, of course, the magnificent Indian Vulture – while managing to eliminate the single most distracting part of the initial composition.
While on the topic of post-processing, all of my adjustments were very basic. A curves layer to smooth out the exposure of the scene, a levels adjustment for some contrast, HSL sliders to correct the colours, and a very light Orton layer were all of the edits I made to this image.
Conclusion.
Phew!
Well, I suppose that’s that for this one. I had way more fun working in this landscape than I was expecting to, and I couldn’t be more pleased with the images I was able to walk away with. I hope you enjoyed this image break-down and found it informative.
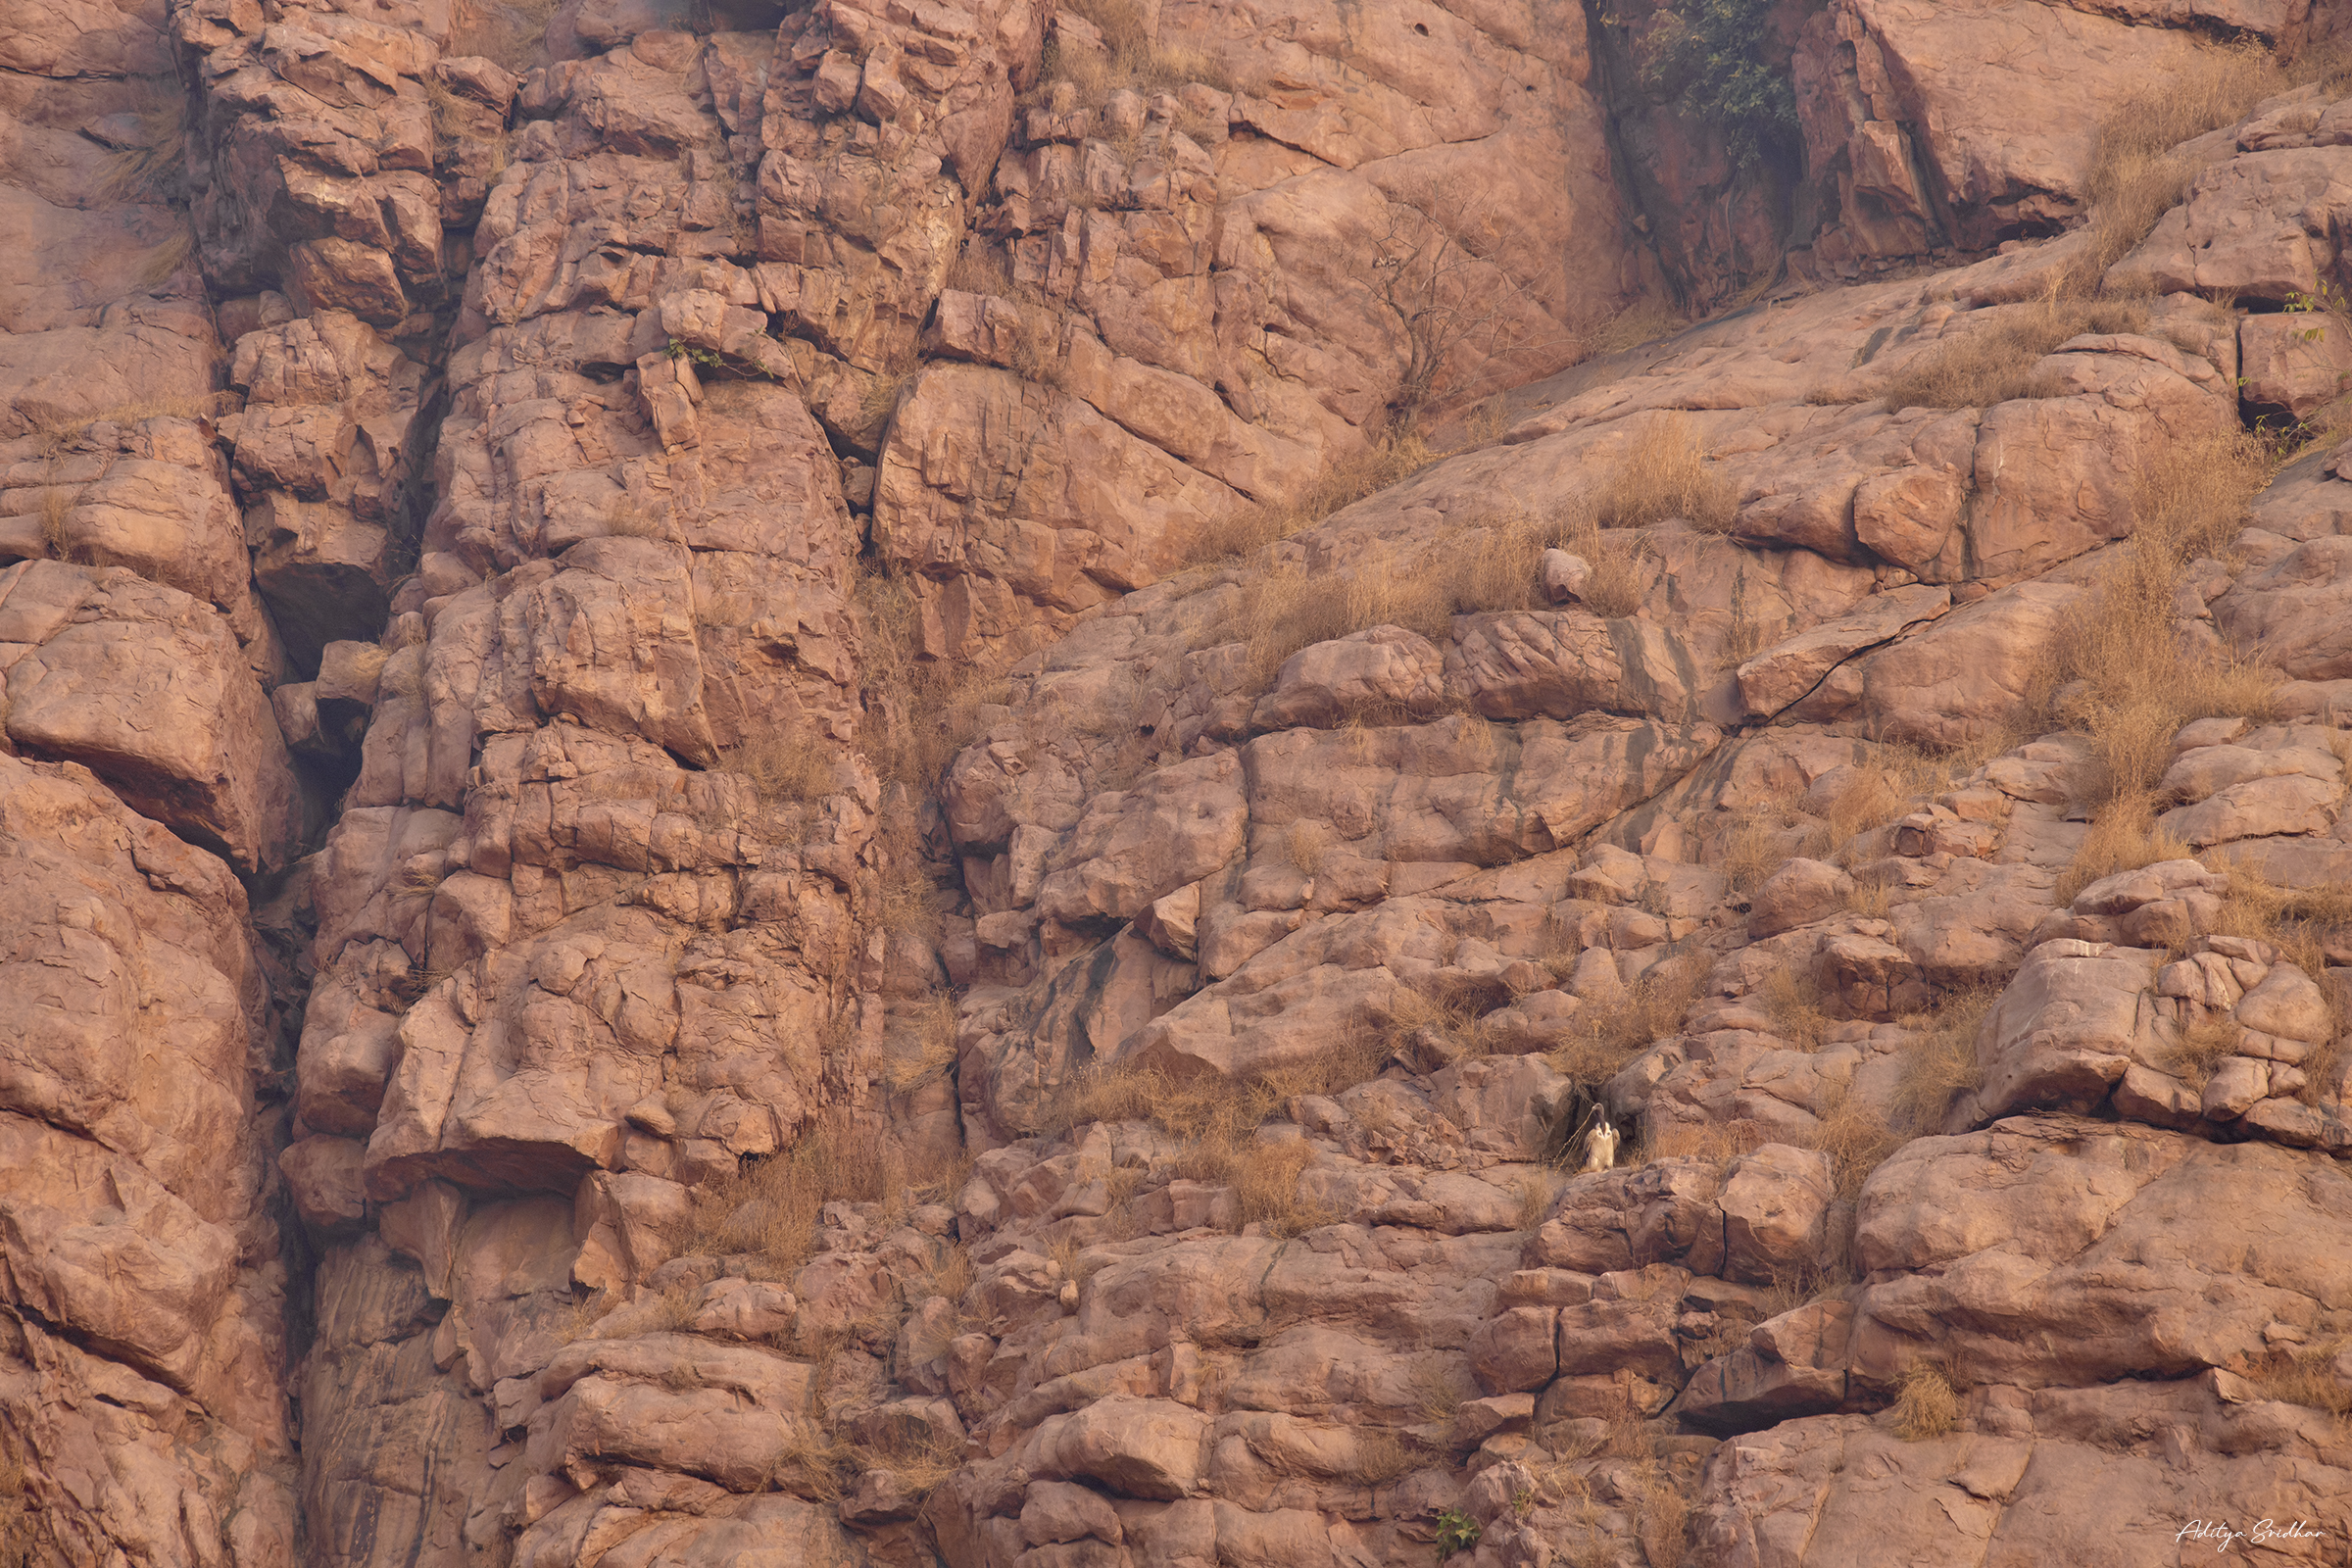
Here’s a bonus image of another Indian Vulture for making it through to the end of this technical rambling! Thanks as always for reading!
